
A Mess-Free Way to Let Your Little One's Creativity Flow
As a self-proclaimed artist (kidding) and new mom, I was so excited to begin painting with my daughter, Isla. I was eager to introduce art at an early age because it’s such a great way to encourage exploration and imagination. Plus, it’s just downright fun! The problem is, painting with a child can create SUCH A MESS. The thought of paint splattering all over Isla, her clothes, the countertop and anything and everything in the splash zone downright stressed me out and discouraged me from trying.
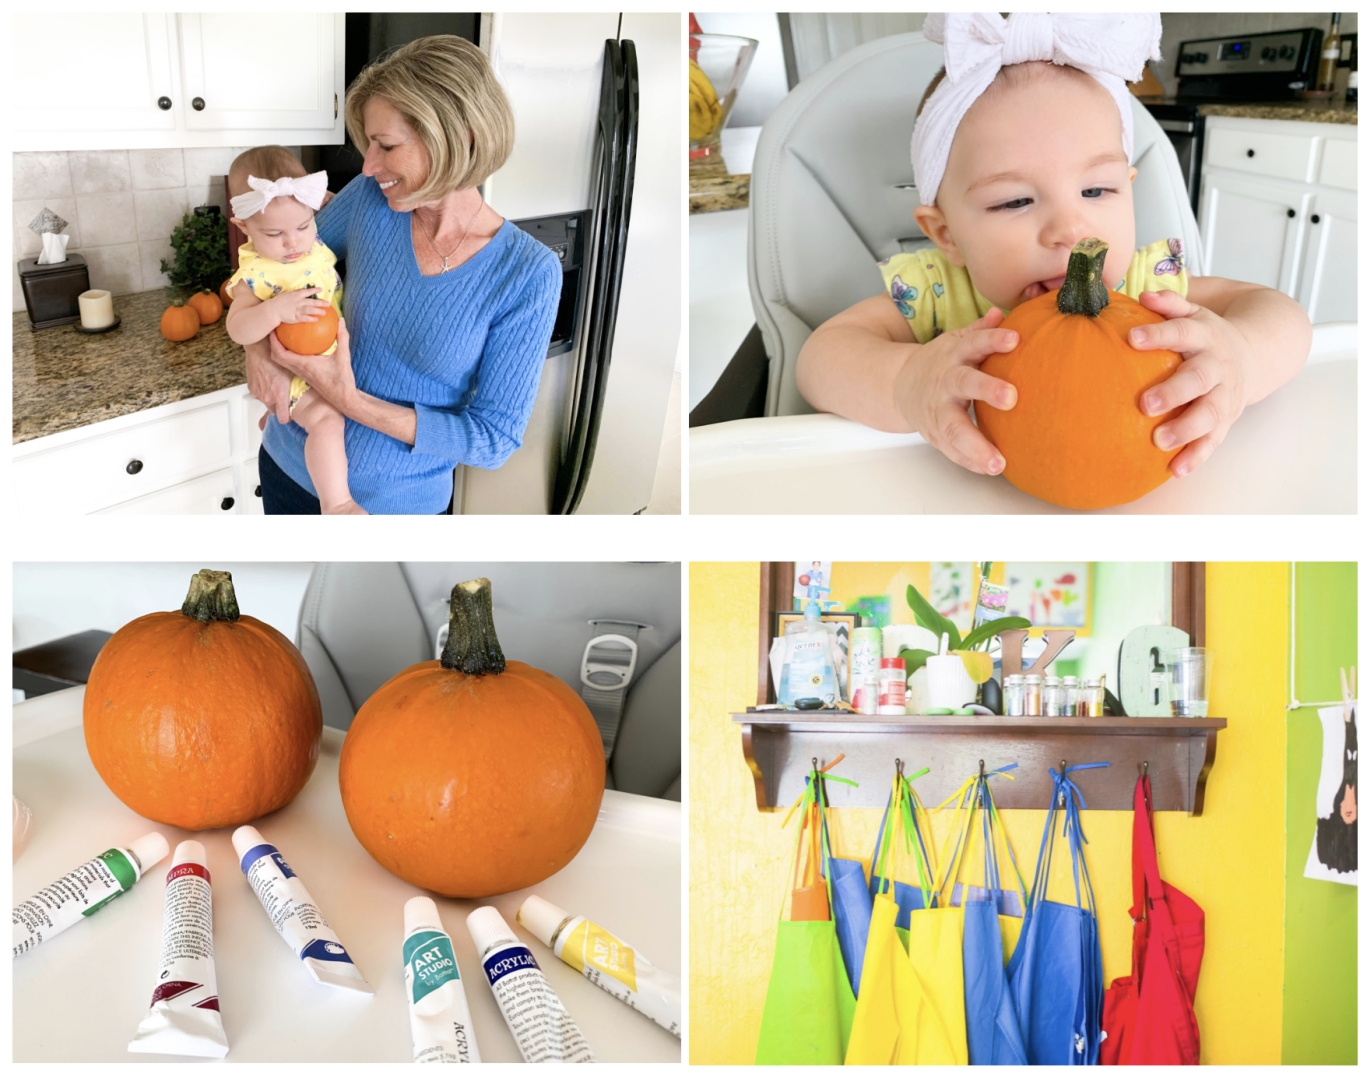
But when my parents came to visit us in October, I decided to embrace the messiness of motherhood and continue the tradition of one of my favorite childhood Halloween memories—painting pumpkins. Shortly before embarking on our art adventure and covering everything in sight with newspaper, I came across this “painting in a bag” technique and was excited to give it a whirl!
Now, you may be thinking, how much fun can painting in a bag be? But it was such a neat way to spend some family time together. In fact, we (adults included) enjoyed it so much, that we now use this simple, mess-free technique with Isla on a regular basis. We’ve found it to be a wonderFULL way to naturally encourage her to build her fine motor skills, observe how colors blend together and experiment with cause and effect as she pushes the paint around.
Because I’m not the only busy mom who wants to encourage her children to embrace their inner artist in a mess-free way, I had to share this simple technique with you!

Here's a basic list of the things you'll need.
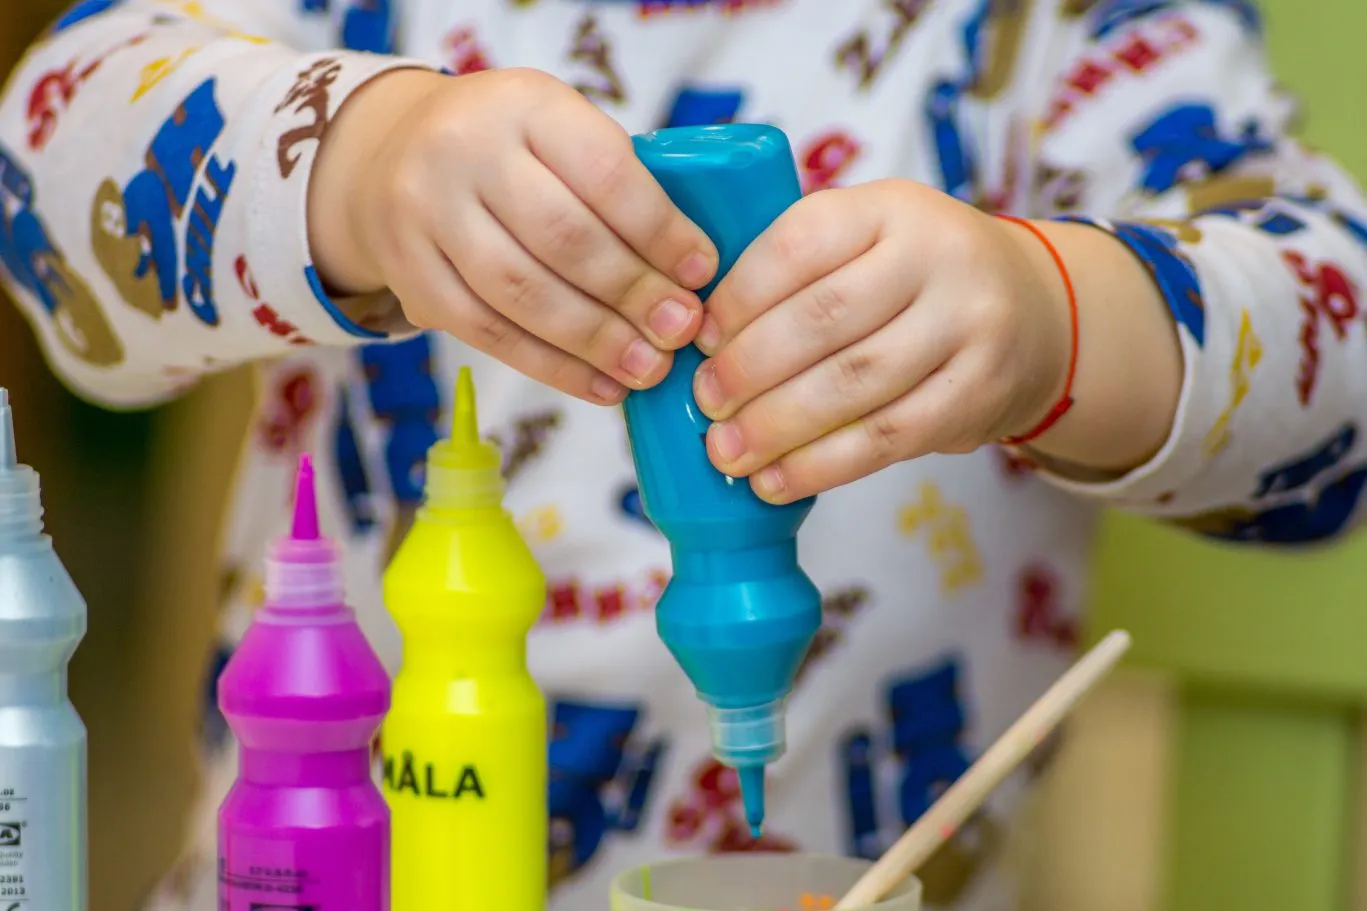
Paint
You’ll get the best results if you use acrylic paint, like this, but most artistic paints will work. Be sure to only use small amounts of paint and don’t choose too many colors or you’ll end up with a big brown blob, rather than a beautiful blend. We’ve found that three colors work best.
A gallon-size Ziploc bag
This Ziploc bag is to put whatever you’re painting in. You can also use plastic wrap, but it’s not quite as user-friendly.
A paint smock/apron
Kick it up a notch by staging your kitchen as an art studio and allowing your kid(s) to wear a paint smock, like this one! Because, girl or boy, who doesn’t love stepping outside of the day-to-day to become a world famous artist who paints with their amazing assistant (you!), in their luxurious studio?
Whatever it is you're going to paint
I’ve listed Isla’s favorites below!
How to paint in a bag
Let your kid(s) pick out three colors. Squirt some paint on whatever it is they’ll be painting and then place it in a Ziplock bag. Seal and let them use their hands to move the paint around. You may have to show your little one what to do at first, but they’ll quickly get the hang of it.
Isla couldn’t stop once she got started! She loved watching the colors mix together and the feel of the paint smushing against the pumpkin.
Once your little one is finished, carefully remove their masterpiece from the Ziploc bag and set it on something safe to dry. That’s it! It’s simple, creates a minimal mess and is super low stress.
Let your babies (or toddlers) explore art with these mess-free ideas.
These are some of Isla’s favorite things to paint.
Holiday fun
Place a small pumpkin (for Halloween/Thanksgiving), a wooden Christmas ornament or Easter egg in a Ziploc bag. Once you’re done creating your masterpiece, carefully remove it and let it dry. We did this for Isla’s first Halloween and had a blast! We plan on doing it again for Christmas and making it a tradition for years to come.
Canvas
Place a small canvas in a Ziploc bag. Squirt three lines of paint on the canvas and zip the bag shut. Place it on the floor or a table and use tape for reinforcement, if needed. Let your kids smear away. You’ll end up with a beautiful masterpiece to hang in your little one’s toy room (or give as a holiday gift).
Framed wall art
Have old frames lying around? Cut a piece of art paper to fit the frame, stick it in a bag with some paints, and you’ll have yourself some amazing wall art. Hang in your kids’ room, and they’ll be beaming with pride every time they see it!
Greeting card
Fold card stock in half and dot the paint on the front of it. Stick it in a Ziploc bag. Tape the bag down, if necessary, and let your little one use their fingers (or their feet) to decorate. Once it dries, you’ll have a beautiful homemade card.
Pro-tip: You can cut the card stock in the shape of a heart for a Mother’s/Father’s Day card or a Christmas tree for a holiday card to send to grandma and grandpa!
A mom's (at least this mom's) stress-free way to let your little Pablo Picasso play
Whether it’s a holiday, snow day or just a Saturday afternoon, this painting technique will keep your kids entertained (for at least a few minutes) and encourage them to explore and unleash their inner creativity.


0 Comments