

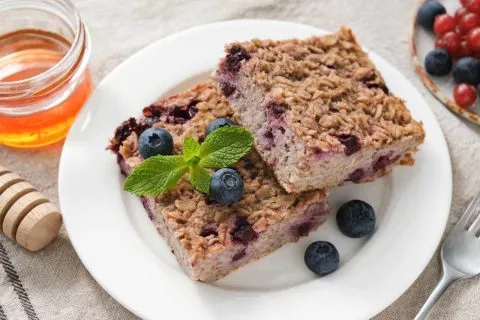


Banana Bread (Gluten-Free)
- Total Time: 55 minutes
- Yield: 12
Description
Ingredients
- 1 cup mashed extremely ripe bananas (about 2 large bananas or 3 medium)
- 2 eggs
- ½ cup maple syrup
- ¼ cup, plus 2 tablespoons unsweetened applesauce
- 1 teaspoon pure vanilla extract
- 2 cups oat flour
- ½ teaspoon cinnamon, plus more to sprinkle on top
- 1/4 teaspoon salt
- 1 teaspoon baking soda
- 2 tablespoons arrowroot flour
- ¼ cup coconut oil (melted)
- pinch sugar (optional garnish)
Optional Additions: (choose one)
Instructions
- Preheat oven to 325 degrees. Grease a 9×5 loaf pan.
- In a large bowl, mash ripe bananas.
- Wisk in the eggs, maple syrup, applesauce, milk and vanilla until combined.
- In a separate bowl, combine the oat flour, cinnamon, salt, baking soda and arrowroot flour.
- Sprinkle dry ingredients onto the wet. Add melted oil. After adding melted oil, fold to combine. Be careful not to overmix.
- If you’re adding in any additions, gently fold them into the batter.
- Pour the batter into your greased loaf pan. Lightly sprinkle the top of the batter with cinnamon and a pinch of sugar.
- Bake for 52-58 minutes, until a toothpick comes out clean. Typically, if you don’t have any mix-ins, your bread will be done in around 52 minutes; if you add mix-ins, it generally takes a little longer, (55-58 minutes).
- Let the bread cool for 10 minutes. Use a butter knife to loosen the bread from the pan. Carefully transfer bread to a wire rack to cool. Slice and enjoy!
Storage Tips
- Because this bread doesn’t contain refined ingredients or preservatives, it will only last 2-3 days at room temperature. Store in the refrigerator for up to 7 days and in the freezer for up to 3 months.
- If you want to pre-portion your bread, slice it before freezing so you can defrost individual slices in the refrigerator overnight or by letting it rest at room temperature. Lightly toast and enjoy warm, or eat it cold, straight out of the fridge!
Notes
Always check for FfL-friendly ingredients.
We recommend organic ingredients when feasible.
Substitutions
Dairy-free: Substitute milk with dairy-free milk such as almond milk.
Binding agent: Cornstarch can replace Arrowroot powder 1:1.
- Prep Time: 15 min
- Cook Time: 40 min
- Category: Recipes


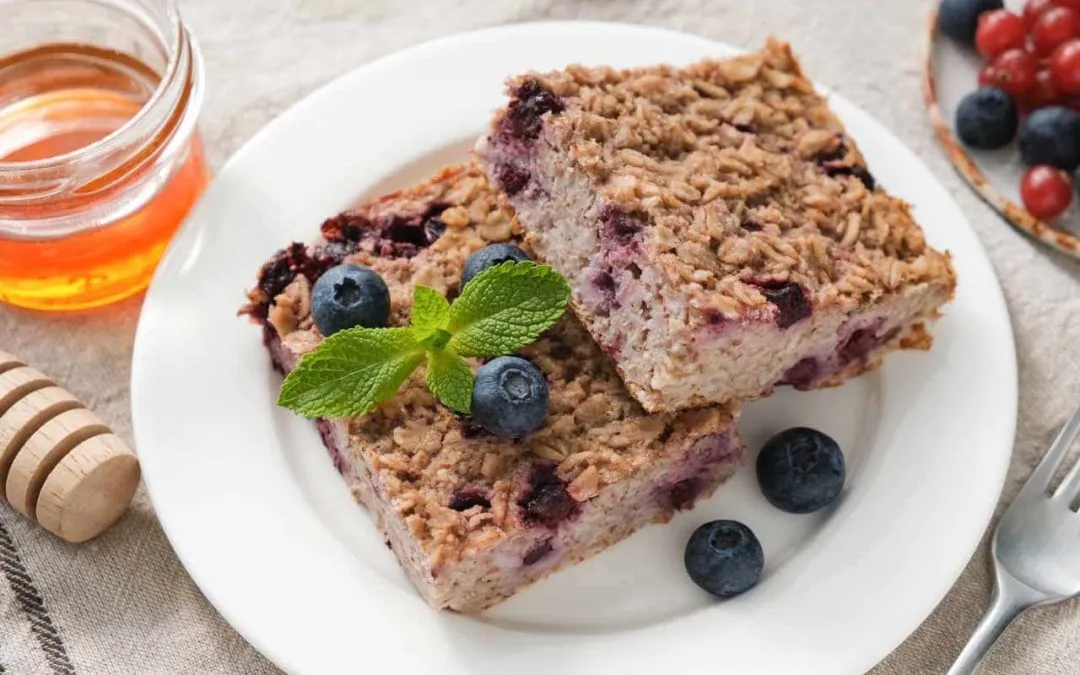


Our family loves this banana bread! When I make it, I always add walnuts and increase the bake time by 2-3 minutes. It turns out amazing every time! Delicious!